If you’ve got a leaky faucet, it can be frustrating and wasteful. Fortunately, you can fix it in under 30 minutes with the right approach. First, you’ll need to identify the source of the leak and gather a few essential tools. Once you know what you’re dealing with, the repair process becomes straightforward. Let’s break down the steps to get your faucet working like new again.
Identifying the Source of the Leak
Have you ever wondered why your faucet drips incessantly? Identifying the source of that leak is the first step toward a solution.
Start by checking the faucet handle. If it’s loose, tightening it might stop the drip. Next, look under the sink for any signs of water pooling; this could indicate a leak in the supply lines.
Don’t forget to examine the faucet spout and the aerator, as debris buildup can cause leaks too. If you notice water coming from the base of the faucet, it could signal a worn-out O-ring or cartridge.
Tools and Materials You’ll Need
Before you plunge into fixing that leaky faucet, gather the right tools and materials to make the job easier.
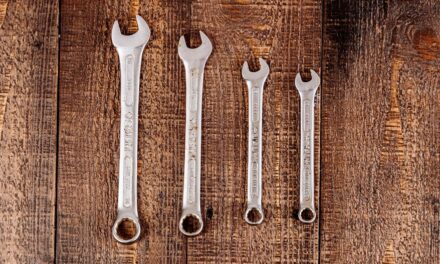
You’ll need an adjustable wrench to loosen nuts and fittings safely. A flathead and Phillips screwdriver will help you remove screws without damaging the faucet. Don’t forget a pair of pliers for gripping small parts.
Make certain to have replacement washers or O-rings, as these are often the culprits behind leaks. A small container or towel will catch any dripping water and keep your workspace dry.
Finally, grab some plumber’s grease to guarantee smooth operation when reassembling everything. By preparing these items in advance, you’ll work efficiently and minimize the risk of accidents.
Step-by-Step Repair Process
Start by shutting off the water supply to your faucet.
Locate the shut-off valves under the sink and turn them clockwise.
Next, open the faucet to relieve any remaining pressure and drain excess water.
Use a wrench to remove the faucet handle, exposing the cartridge or valve assembly.
Carefully pull out the old cartridge, inspecting it for wear.
Replace it with a new one, making sure it fits snugly.
Reattach the handle and tighten it securely.
Turn the water supply back on slowly, checking for any leaks.
If everything’s dry, you’ve successfully fixed your faucet!
Always remember to wash your hands after handling tools and materials to maintain hygiene and create a safe environment.
Tips for Preventing Future Leaks
While fixing a leaky faucet is a great start, taking proactive steps can help prevent future leaks.
First, regularly check your faucet and pipes for any signs of wear or corrosion. Don’t ignore dripping sounds; they often signal potential issues.
Make certain to clean aerators and screens to keep water flow steady and reduce pressure on your fixtures. Additionally, avoid using excessive force when turning handles, as this can wear out seals over time.
You should also consider installing a water softener if you live in an area with hard water, as it can prolong the life of your plumbing.
Finally, keep an eye on water pressure; too high can lead to leaks. Stay vigilant to guarantee a leak-free home!
When to Call a Professional
Wondering when it’s time to call a professional for your leaky faucet?
If you’ve tried a DIY fix and the leak persists, it’s probably best to seek help.
Additionally, if you’re dealing with water pooling under the sink or any signs of water damage, don’t hesitate to call in an expert.
Safety is vital, so if you’re uncomfortable working with plumbing tools or if the leak involves complex systems like your home’s water heater, it’s wise to leave it to the pros.
Remember, ignoring persistent issues can lead to bigger problems down the line.
Trust your instincts; if you feel uncertain, a professional can provide the expertise and peace of mind you need.
Conclusion
By following these steps, you can fix that leaky faucet quickly and efficiently. Remember to shut off the water supply first and gather the right tools to make the process smooth. Regular maintenance can save you from future leaks, so don’t forget to clean aerators and check for wear. If you find the issue is more complicated than expected, don’t hesitate to call a professional. Enjoy a drip-free faucet and the satisfaction of a job well done!